The chest is loosely based upon a late 15th century Italian cassone in the Philadelphia Museum of Art. The cassone was covered in gesso and painted, which seemed like a good idea for a fancy cooler..
 |
 |
 |
| Cassone in the Philadelphia Museum of Art. Late 15th century, Italian. | ||
Dafydd started with the "Alpha" model, which was basically find a white styrofoam cooler that had straight sides (not slanted). Then build a plywood box around it. Glue muslin onto the box and then apply several layers of gesso until you have the thickness and smoothness you want. Paint the gesso, and voila! You have a painted cooler chest.
The problem is that when you put ice (which eventually becomes water) in white styrofoam coolers, the water tends to soak through the cooler after some time, and into the box (especially the gesso and paint). This can really damage the box and ruin all your work. So the solution was to find some kind of plastic container that would fit inside the cooler so that it (the plastic container) would keep all the water and ice away from the foam, and the foam would retain most of the cool temperature inside the chest.
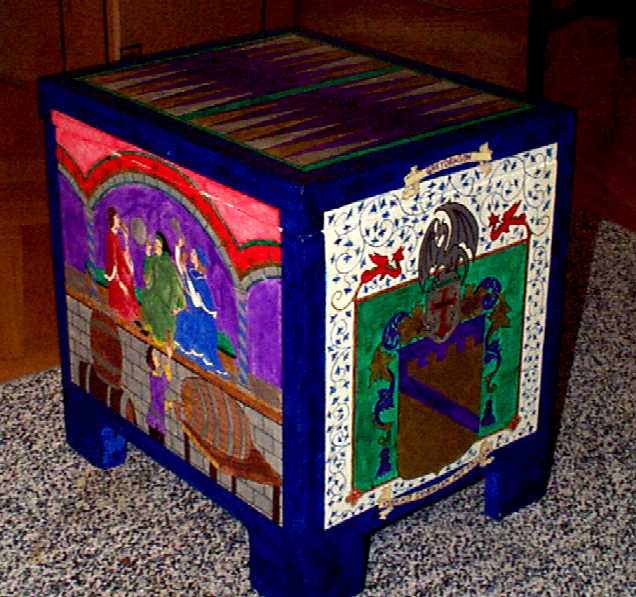
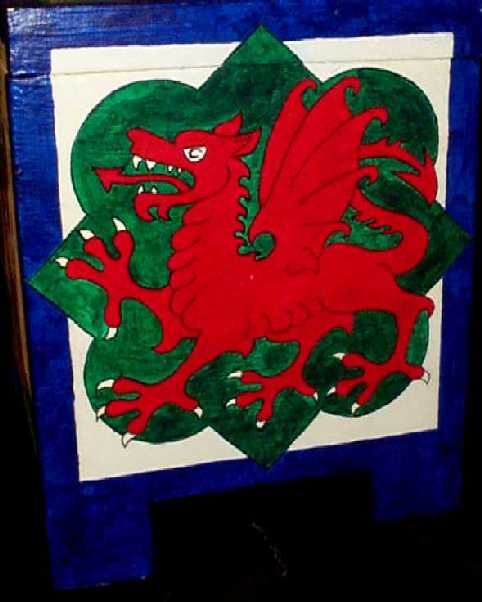
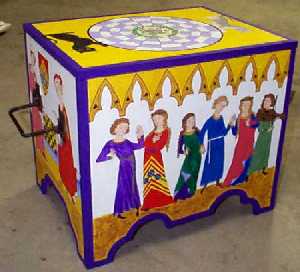
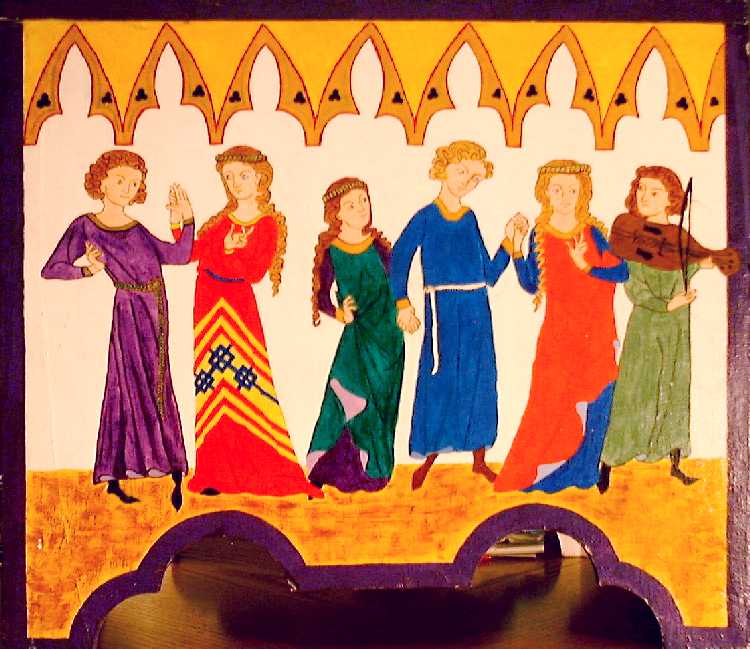
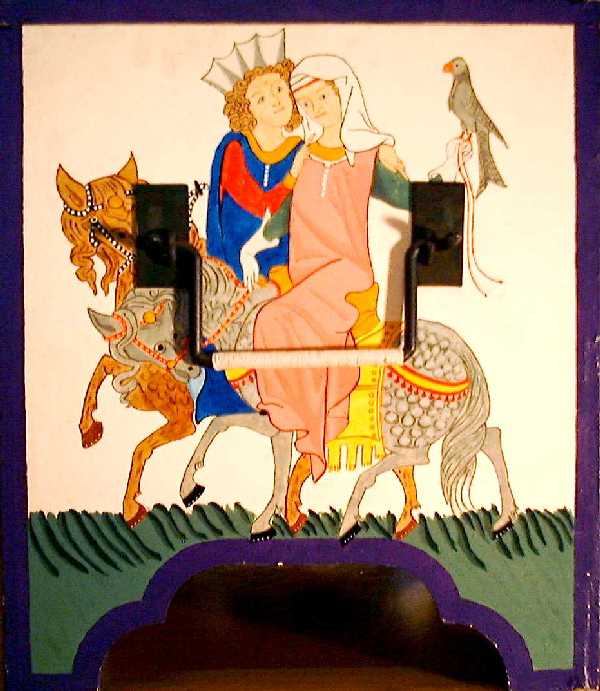
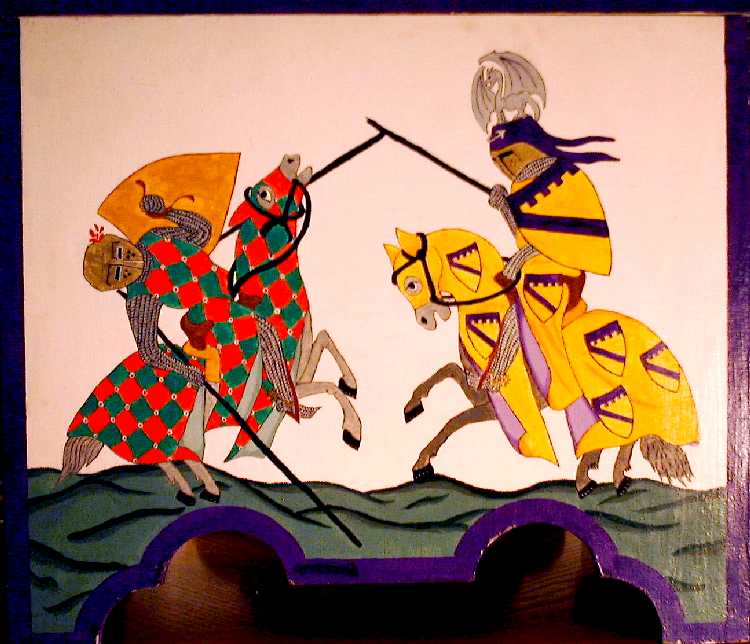
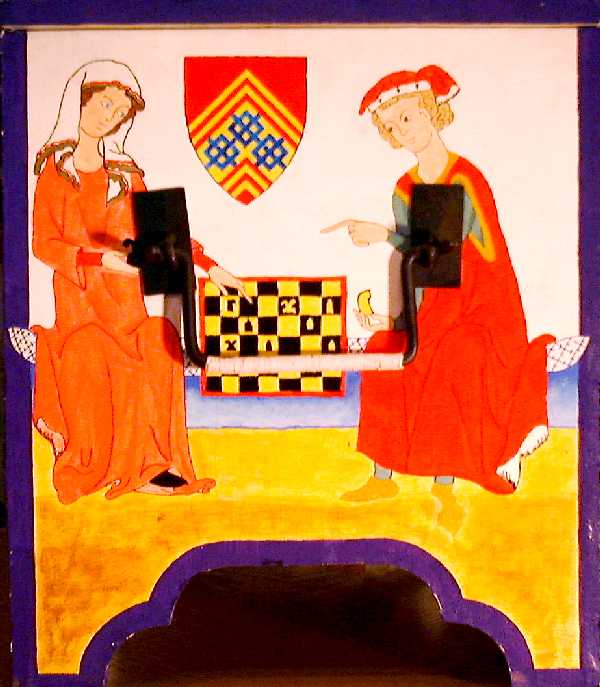
I built an "Alpha" model, and painted it with images that are a reference to me. The images on the four sides of Terafan's "Alpha model" chest come are the following:
 |
 |
 |
 |
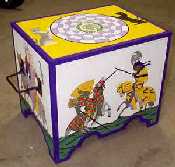
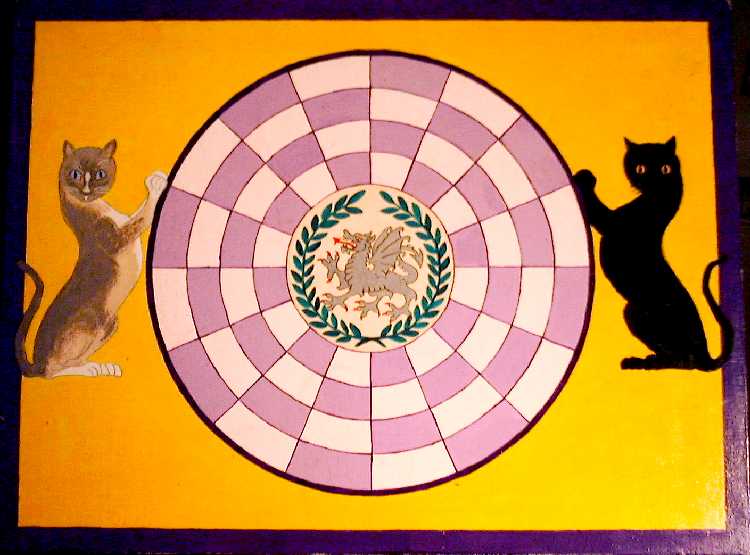
| The top of the chest is a Bakgamon game board, which is useful for in-pavilion entertainment. | 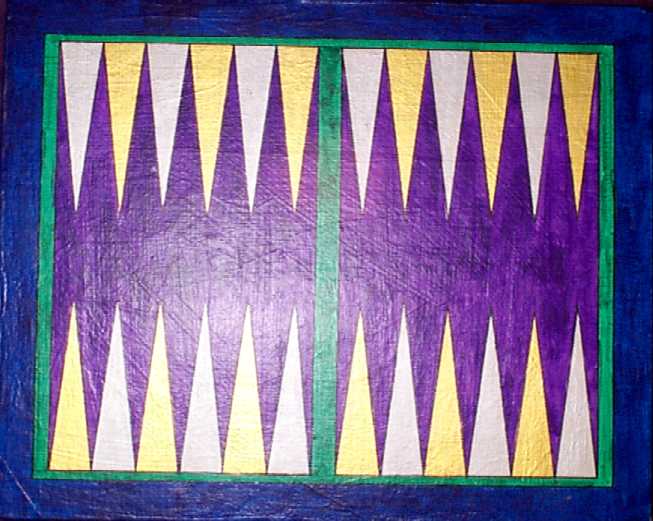
|
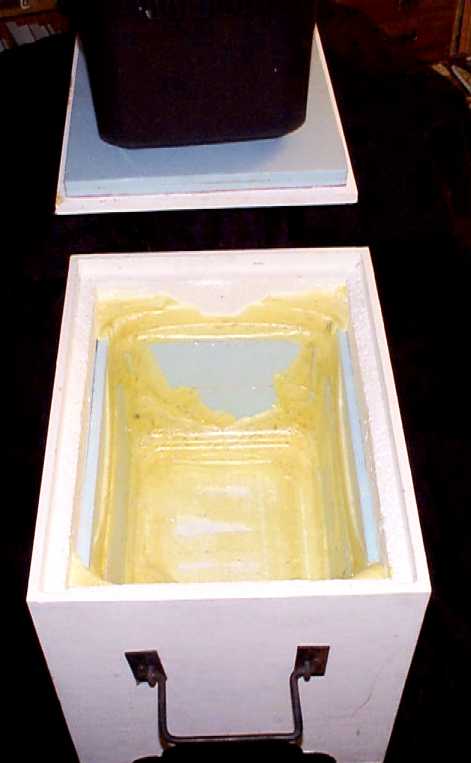
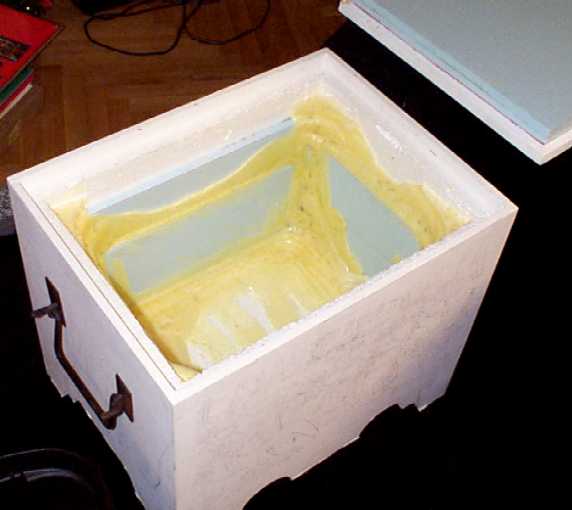
The next step was the "Beta" model. Rather than trying to find a plastic container that fit in the foam container you have, it made much more sense to get a plastic container in the size you want/need, and then build the box around the container. This resulted in the following:
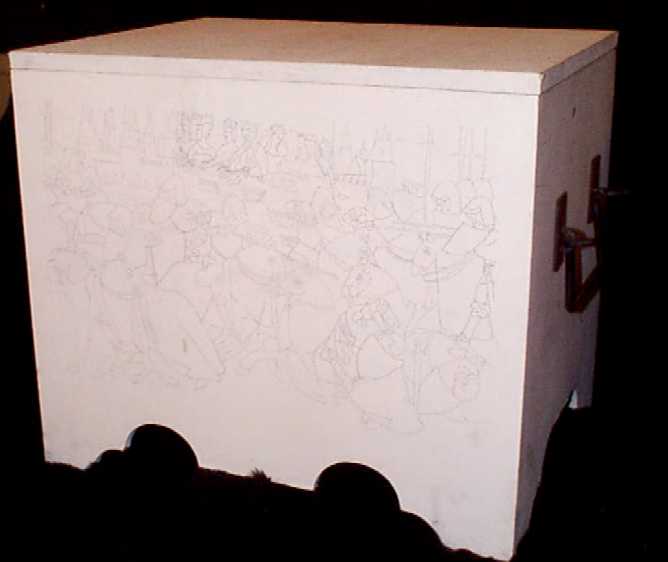
Here are some photos of the "Beta" model during the construction stage of the chest. The "Beta" model is still in progress. We hope to bring you additional photos as the chest nears completion.
For greater detail, click on the thumbnail to see the large photo. |
||||
 |
 |
 |
 |
 |
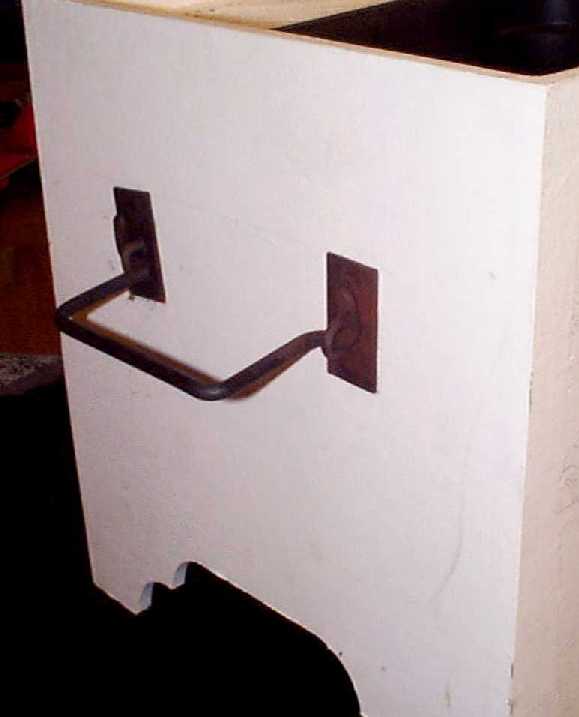
| Handle of the cooler chest | Inside of the cooler, and the container sitting on top of the lid | Another shot of the inside | A shot of the cooler showing the pencil drawing on one side | Showing the container inside the cooler |
 |
 |
|||
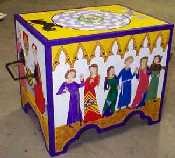
| Finished cooler Click here for larger picture |
Other side of finished cooler Click here for larger picture |
|||
For complete images of the four sides and top of the large cooler (beta model), choose from below.
Dimensions and drawings should not be necessary since you build the box to be the size you need, based on the container you get and the amount of foam you put around it.